How to Recreate Your Hometown in Minecraft
Building your hometown in Minecraft by hand sounds like a great idea until you start. You place the first street, try to remember how far the school was from the church, and realize you would need months and a satellite-level memory to get the layout right. If you want to recreate your hometown in Minecraft without placing every block yourself, the faster route is to generate it from real map data and then spend your time on the parts that matter to you.
This guide walks through that process: choosing the area, generating the world, checking it before you download, and the touch-ups that make a generated town feel like your town.
Why Generating Beats Building From Memory
Memory is good at landmarks and bad at distances. Most people remember the corner store, the park and their friend's house, but not that the park was three blocks east and slightly downhill. A generated world gets the boring-but-essential parts right: the street grid, building footprints, the river or lake, the shape of the land. That frees you to do the part that only you can do, which is adding the details nobody else knows about.
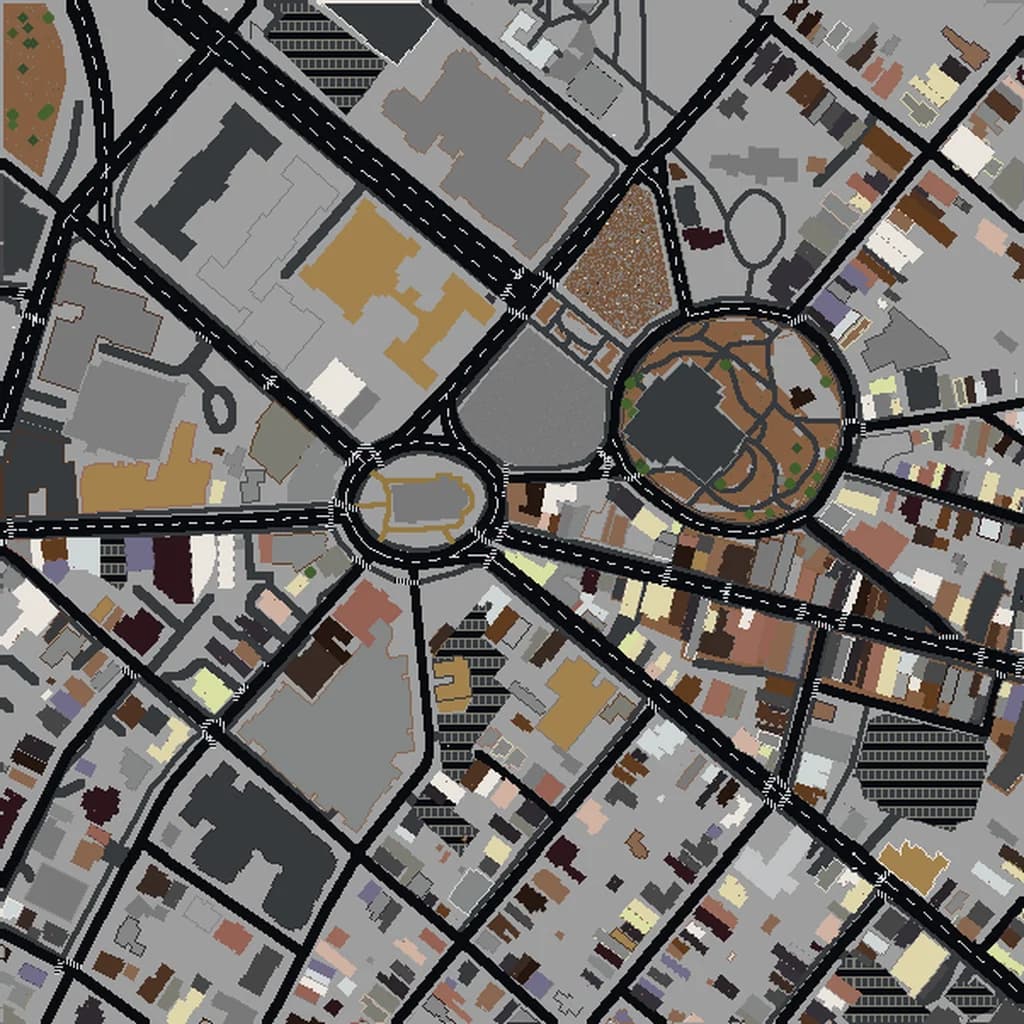
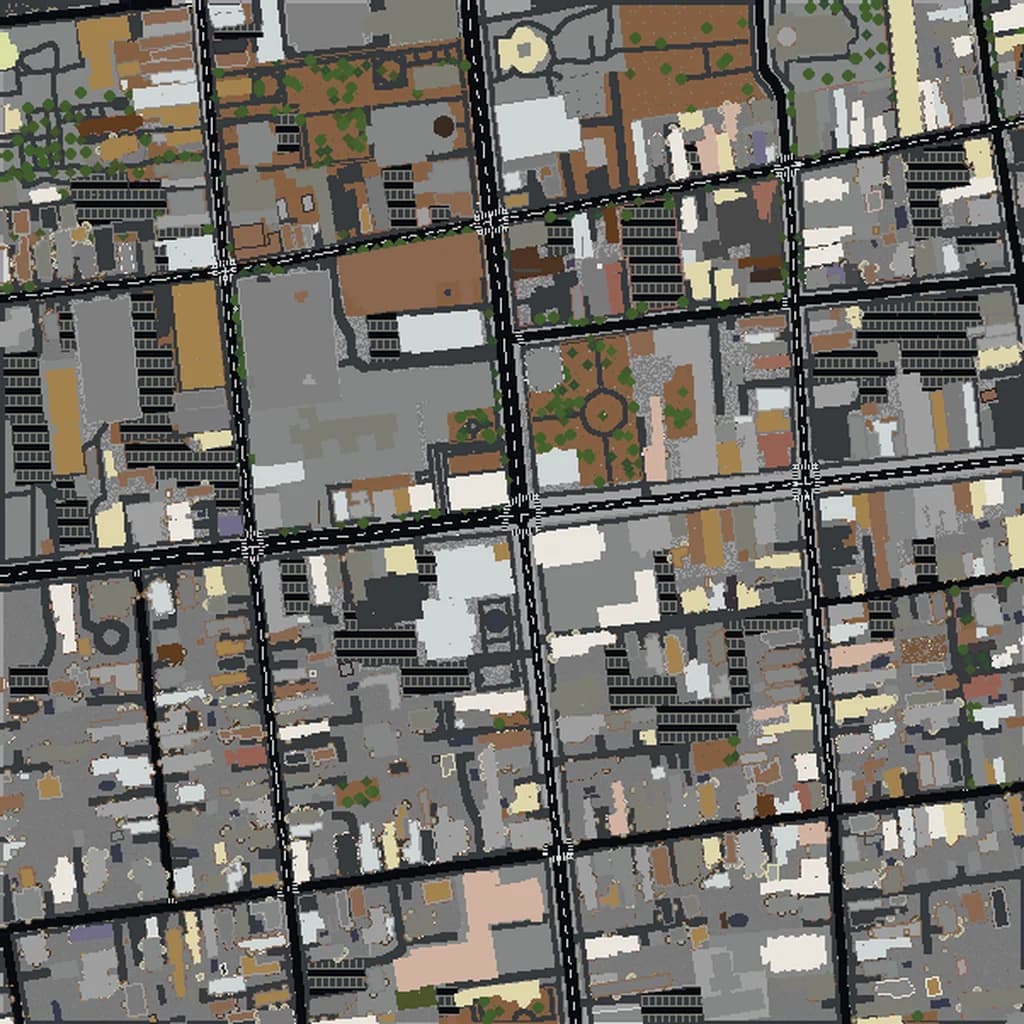
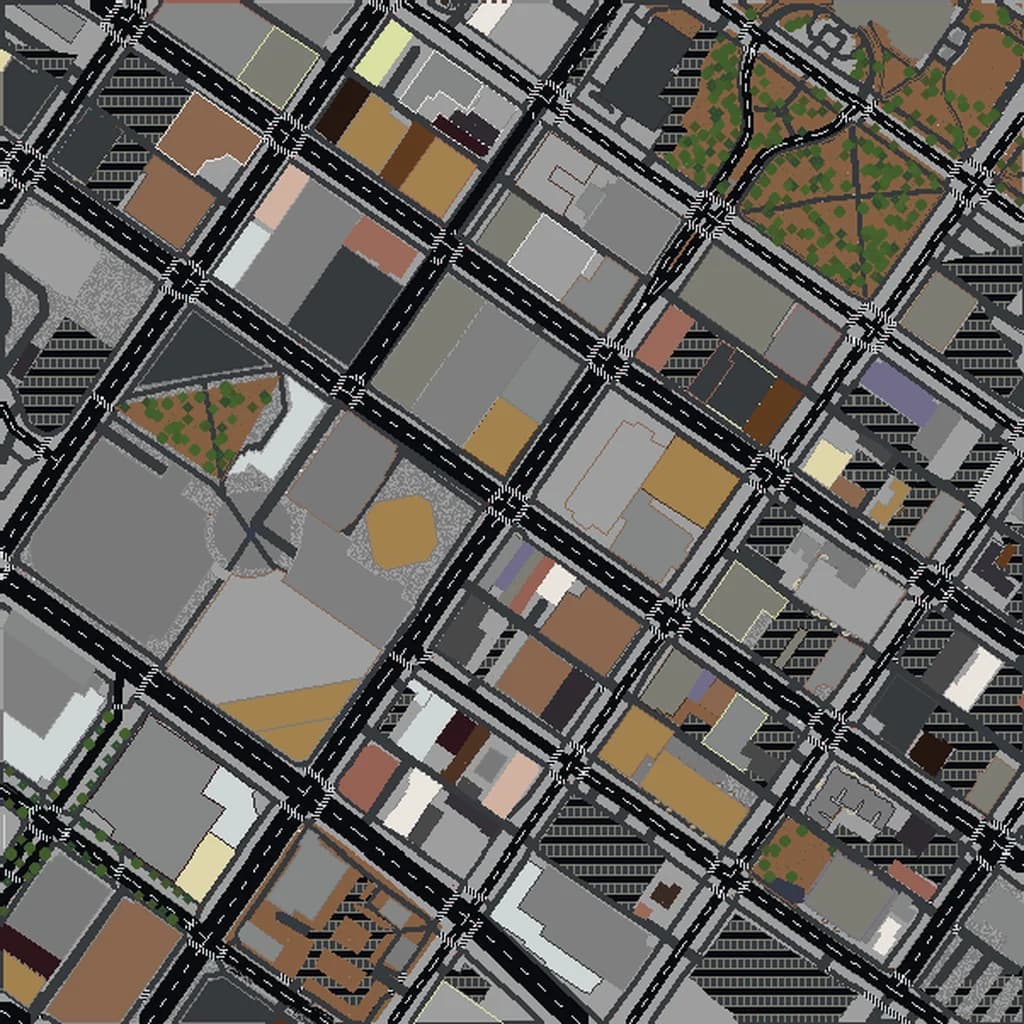
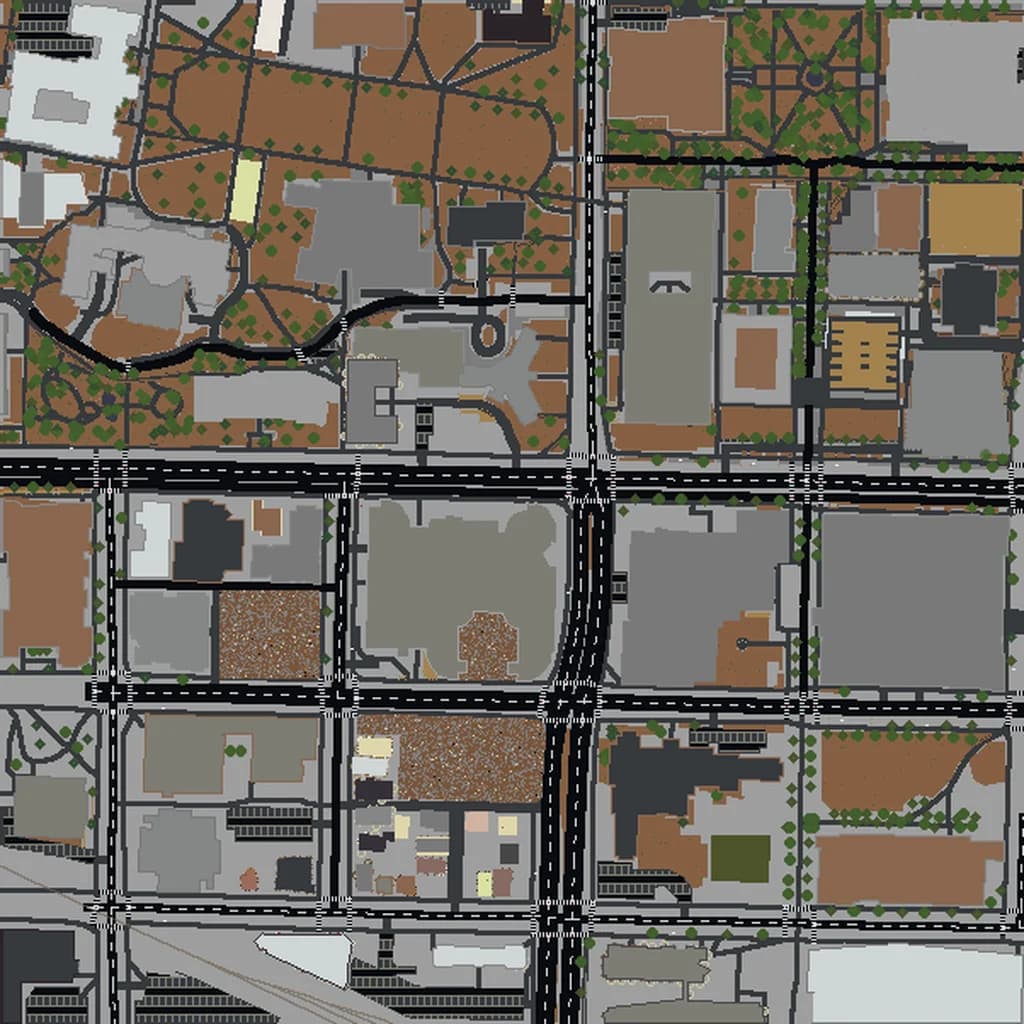
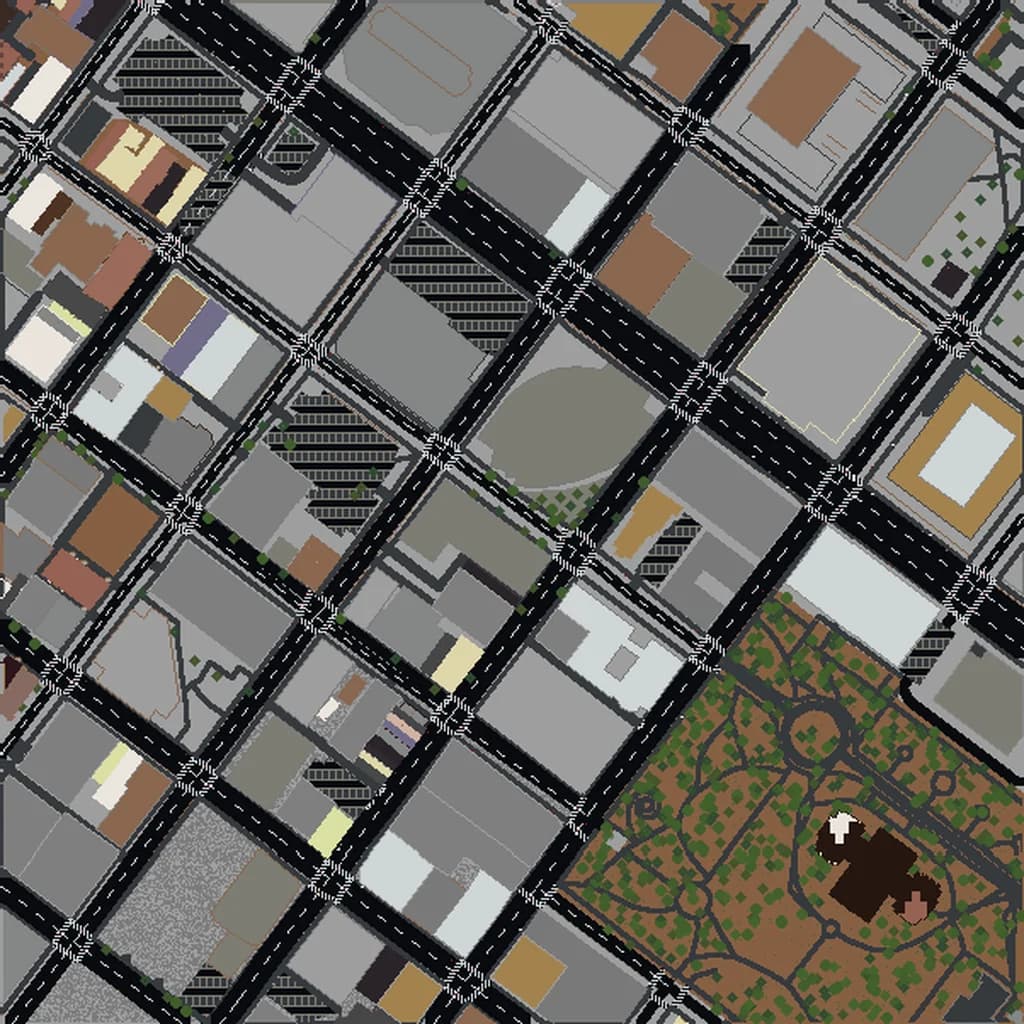
Map2Minecraft builds worlds from OpenStreetMap, the community-made map of the world, using the open-source Arnis generator, plus elevation data for terrain. Streets, buildings, parks, water and railways come across as blocks at roughly one block per meter, so walking from your house to school takes about as long in the game as it did in real life. If you want the technical version, read how we convert real maps into Minecraft worlds.
Step 1: Decide What "Hometown" Means
Before you open the map, decide what you actually want to walk around in. There are usually three options:
- Just your street. Your house, the neighbors, the road and the trees. A small area generates quickly and is easy to explore in one sitting. See making your house in Minecraft for this version.
- The neighborhood. Home, school, the park and the route between them. This is the sweet spot for most people.
- The whole town center. Main street, the courthouse or town hall, the high school, the river. Good if you want a world to share with old friends or family. The my town page covers this case.
Bigger is not automatically better. A world that covers the whole county will have long stretches of fields and roads that you will never visit. Start with the area you have real memories of; you can always generate a second, wider world later.
Step 2: Frame the Area and Generate
Open the world creator, search for your town or a street address, and pick a size. Then drag and zoom the map until the box covers the places you care about. A few tips for framing:
- Put the most important place near the middle. The spawn point lands near the center of the area, so if your childhood home is in the middle of the box, that is where you start.
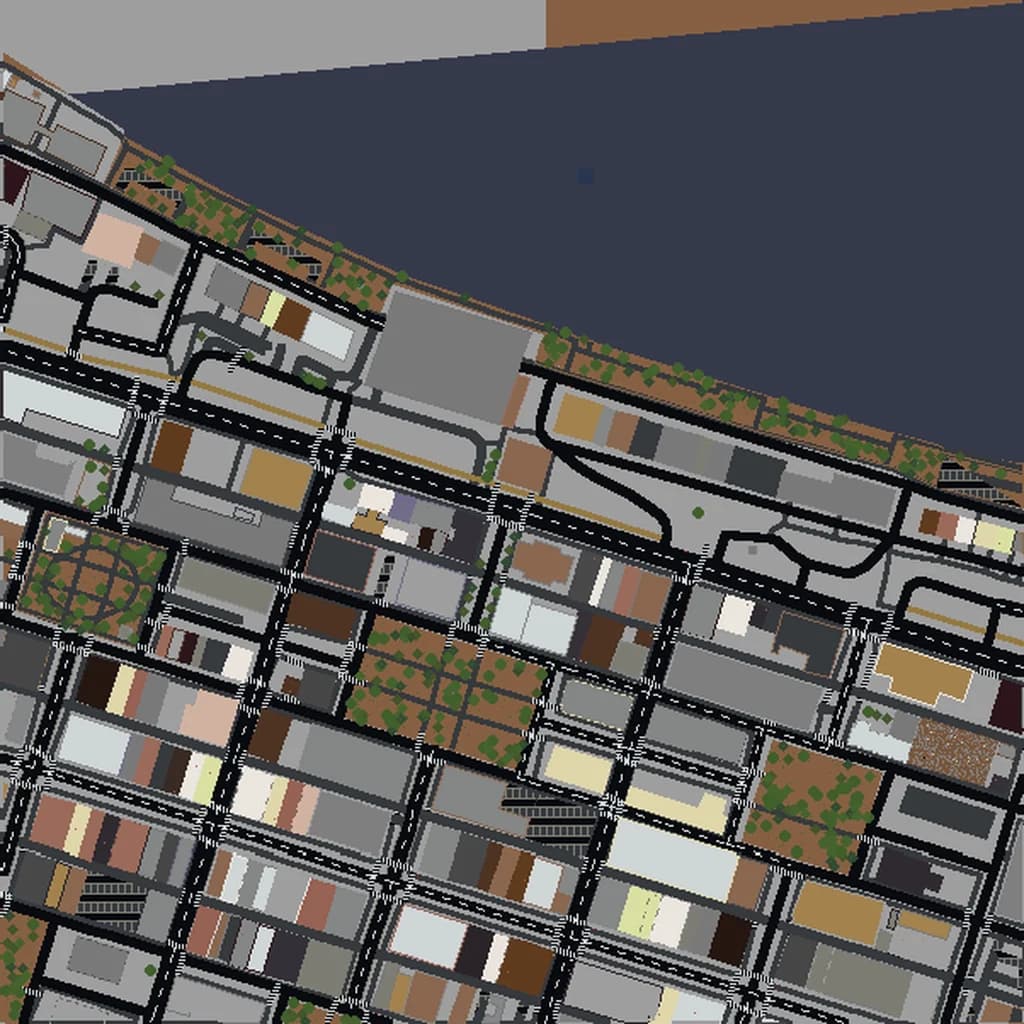
- Include a natural edge. A river, a lake shore or a ridge makes the world feel finished instead of cut off.
- Check the map underneath. If you can see buildings drawn on the base map, they will be in the world. If a block looks empty on the map, it will look empty in Minecraft too.
Choose Java or Bedrock before it generates. Java gives you a .zip save for PC and Mac; Bedrock gives you a .mcworld for Windows, phones, tablets and consoles. If you are not sure which you need, read Java vs Bedrock for world downloads.
Step 3: Walk It Before You Download
Every world gets a free in-browser 3D preview you can walk through, including generated building interiors. Use it to check three things:
- Is your house there? Most houses in towns and cities are on OpenStreetMap, but not all. If yours is missing, you can add it on openstreetmap.org yourself and regenerate once the data updates, usually within days.
- Is the framing right? If the school is cut in half at the edge, move the box.
- Does the terrain feel right? Hills, valleys and riverbanks come from elevation data, so a hilly town should feel hilly.
When you are happy with it, pick a size and download, then follow the import guide for your edition.
What Comes Out Well
Some parts of a real town translate into blocks almost perfectly:
- The street layout. Roads, intersections, cul-de-sacs and alleys follow the real map, with wider roads for bigger streets.
- Building footprints. Every mapped building stands where it really stands, with its neighbors around it. Where OpenStreetMap has height or roof information, that is used too.
- Water and terrain. Rivers, ponds, creeks and the shape of the land are often what make a town instantly recognizable.
- Parks, fields and sports grounds. The football field behind the high school or the town green show up as open green space.
What to Touch Up by Hand
A generated world is a very good base, not a finished replica. These are the touch-ups that make the biggest difference:
Your own house
Interiors are generated floor plans, not copies of the real rooms. If you want your bedroom where your bedroom was, this is the building to rebuild inside. It is one building, so it is an afternoon of work, not a month.
Signature details
The water tower with the town name, the neon sign on the diner, the mural, the big oak in the front yard. Map data rarely captures these, and they are exactly what makes people say "that's it" when they walk in. Add signs, banners and a few custom builds at the spots people remember.
Facade colors and materials
Walls are chosen from what the map says about each building, so a red-brick main street might not come out red. Swapping wall blocks on a handful of key buildings is quick in Creative mode, and much faster with WorldEdit on Java; see our WorldEdit tips for real-world maps.
Small-town gaps
In very small towns, OpenStreetMap sometimes has the main roads and only a few buildings. If your world looks sparse in the preview, you have two options: add the missing buildings to OpenStreetMap (which helps everyone who uses the map), or fill them in by hand in the game.
Ideas Once Your Town Is Built
- Invite old classmates onto a server or Realm and see who can find their old house first.
- Run a survival or zombie scenario on your own streets; our zombie apocalypse guide covers the setup.
- Give the world to a parent or grandparent who moved away. The gift guide explains how to package it.
- Use it with kids to talk about how the town has changed since you lived there.
Start With Your Street
The quickest way to see whether your hometown works as a Minecraft world is to try it. Search for your town, frame the center, and walk through the preview. If you want inspiration first, browse towns like Annapolis, Savannah or Madison to see what a smaller place looks like in blocks.
Real city maps to try