How to Play a Minecraft Map With Friends: LAN, Servers, Realms
How to Play a Minecraft Map With Friends
You have a downloaded world on your computer, maybe your own neighborhood or a whole downtown, and exploring it alone gets old fast. The obvious next question is how to play a Minecraft map with friends. The answer depends on two things: which edition you play (Java or Bedrock) and whether your friends are in the same house or somewhere else. This guide walks through the four realistic options, what each one costs you in effort, and where each one falls short.
If you have not got a world yet, draw a box around any place on the map, choose Java or Bedrock, and download it. If you already have one but have not loaded it, start with our import guide and come back here.
First: Everyone Needs the Same Edition
Java Edition and Bedrock Edition are different games under the hood. A Java world is a folder (it arrives as a .zip); a Bedrock world arrives as a .mcworld file. Java players can only join Java worlds, and Bedrock players can only join Bedrock worlds. Bedrock is the edition on consoles, phones and the Windows store version, and it lets those platforms play together. Java runs on Windows, macOS and Linux.
So before anything else, check what your group plays. If half of you are on Java and half on Xbox, pick Bedrock for the shared world, or generate the same area twice, once in each format. Our Java vs Bedrock comparison goes into the differences in more detail.
Option 1: LAN (Same Network)
LAN play is the easiest option when everyone is on the same Wi-Fi or home network, such as siblings in one house or friends at a sleepover.
Java Edition
- Open the world in Singleplayer.
- Press Esc and choose Open to LAN. Pick the game mode for guests and whether cheats are allowed, then start the LAN world.
- Your friends open Multiplayer. The world appears in the LAN section at the bottom of their server list.
Bedrock Edition
- In the world's settings, under Multiplayer, make sure Visible to LAN Players is on.
- Open the world.
- Friends on the same network open the Friends tab, where the world is listed under LAN games.
Pros: no extra software, no accounts to configure, nothing to pay for. Cons: the world only exists while the host is playing, and it only works on one network. When the host quits, everyone is disconnected.
Option 2: Bedrock Friends (Online Invites)
On Bedrock, anyone signed in with a Microsoft account can host a world for friends online without a server. Open the world, make sure multiplayer is enabled in its settings, and invite friends from the pause menu, or let them find it in their Friends tab. This works across Windows, Xbox, PlayStation, Switch, iOS and Android, which is one of the strongest reasons to choose Bedrock for a group world.
Pros: cross-platform, quick to set up, no port forwarding. Cons: like LAN, the world is only online while the host is in it. Consoles may require the platform's own online subscription for online play, so check your platform's rules before promising a game night.
Option 3: Realms
Realms is Mojang's paid private-server service. It exists for both editions (Java Realms and Bedrock Realms are separate), and the big advantage is that the world stays online when you log off, so friends can drop in any time.
You can put a downloaded world on a Realm:
- Java: import the world into Singleplayer first, then in the Realm's configuration pick a world slot and use the upload option to choose that world from your list.
- Bedrock: import the
.mcworldso it shows up in your worlds list, then in the Realm's settings replace the Realm's world with it.
Pros: always on, no hardware or networking to manage, and Bedrock Realms work for console and mobile players. Cons: it is a subscription, the number of players online at once is limited by your plan, and you cannot install server plugins. Very large worlds can also be slow or unreliable to upload, so a neighborhood-sized area is a safer bet than a whole metro region.
Option 4: Host Your Own Server
A dedicated server gives you the most control: always-on (as long as the machine is), any number of players your hardware can handle, and on Java, plugins and mods.
Java server
- Download the official server software from minecraft.net and run it once so it creates its files.
- Stop the server. Copy your extracted world folder (the one containing
level.dat) next to the server jar. - Open
server.propertiesand setlevel-nameto the world folder's name. - Start the server again. Friends connect with your address under Multiplayer, then Add Server.
For friends outside your network you need to forward the server port (25565 by default) on your router, or use a tunneling service. Alternatively, a paid Minecraft host will run the server for you; most let you upload a world folder through a file manager or FTP.
Bedrock server
Mojang also publishes Bedrock Dedicated Server software for Windows and Linux. You place the world in its worlds folder and set level-name the same way. The catch: Xbox, PlayStation and Switch players cannot type in a custom server address the way PC and mobile players can, so a self-hosted Bedrock server is awkward for console groups. For console-heavy groups, Realms or friend invites are usually simpler.
Pros: full control, scales to bigger groups, plugins on Java. Cons: the most setup, and someone has to keep it running and updated.
Which Option Should You Choose?
- Same house, one evening: LAN.
- Bedrock friends in different homes, casual sessions: online friend invites.
- A world that stays up all week with no tech work: Realms.
- A larger group, custom rules or plugins: your own server or a hosted one.
Tips for Multiplayer on a Real-World Map
- Agree on a meeting point. Real cities are big at one block per meter. Pick a landmark everyone knows, such as a station, a square or a bridge, and meet there first. Coordinates help: F3 on Java, or the show-coordinates option in Bedrock world settings.
- Keep the area sensible. A downtown plus a few neighborhoods is plenty for a group. Huge areas mean long walks and slower uploads to Realms or hosts.
- Back up before you share. Keep a copy of the original download. If a friend floods Main Street with lava, you can restore it in a minute.
- Give the world a purpose. A city map is a ready-made arena. Our post on manhunt and hide and seek on a real map has game setups that work well with a group.
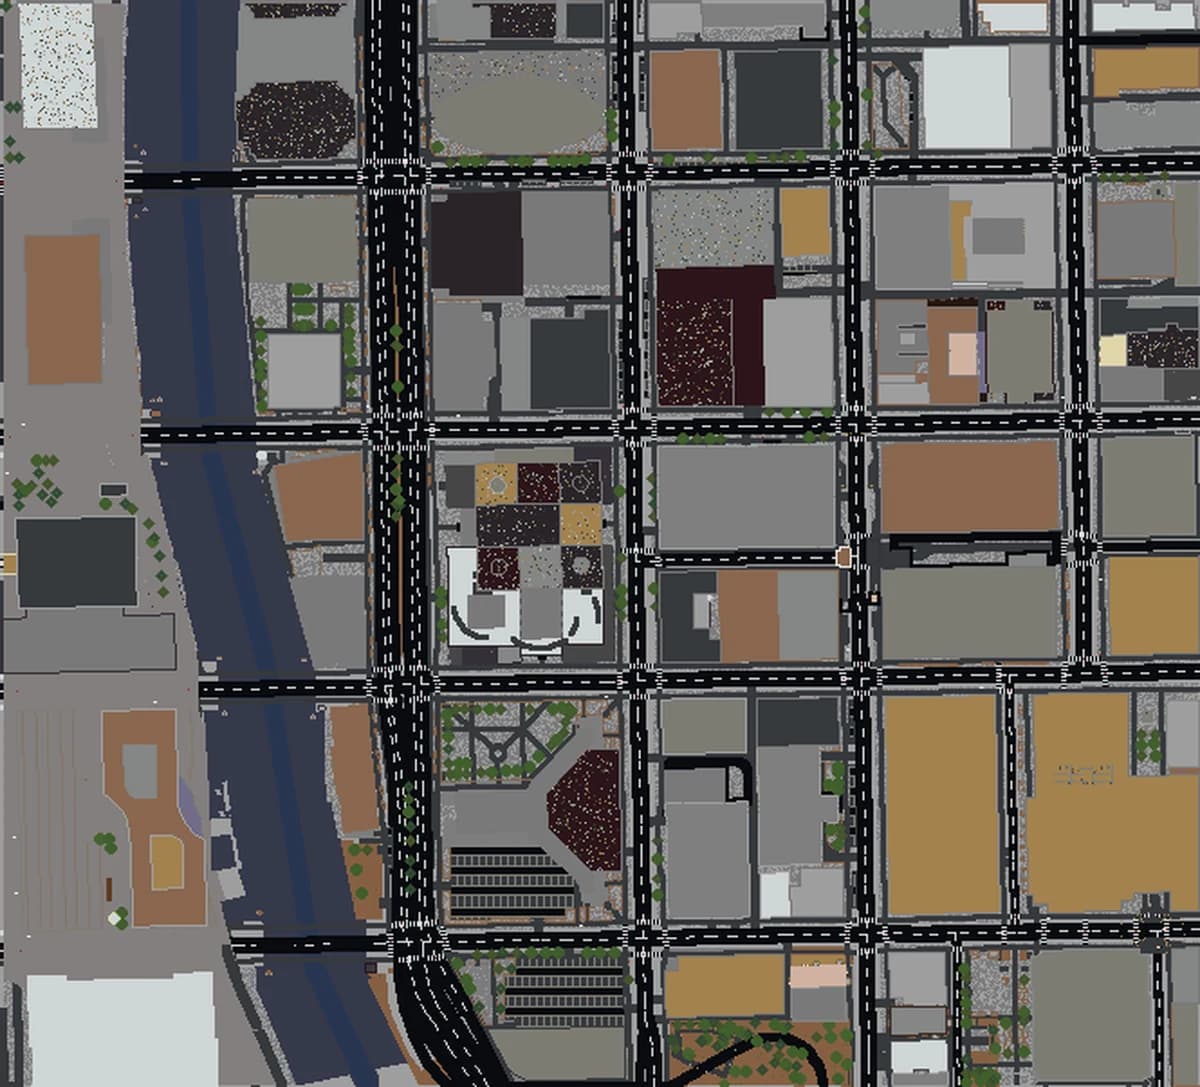
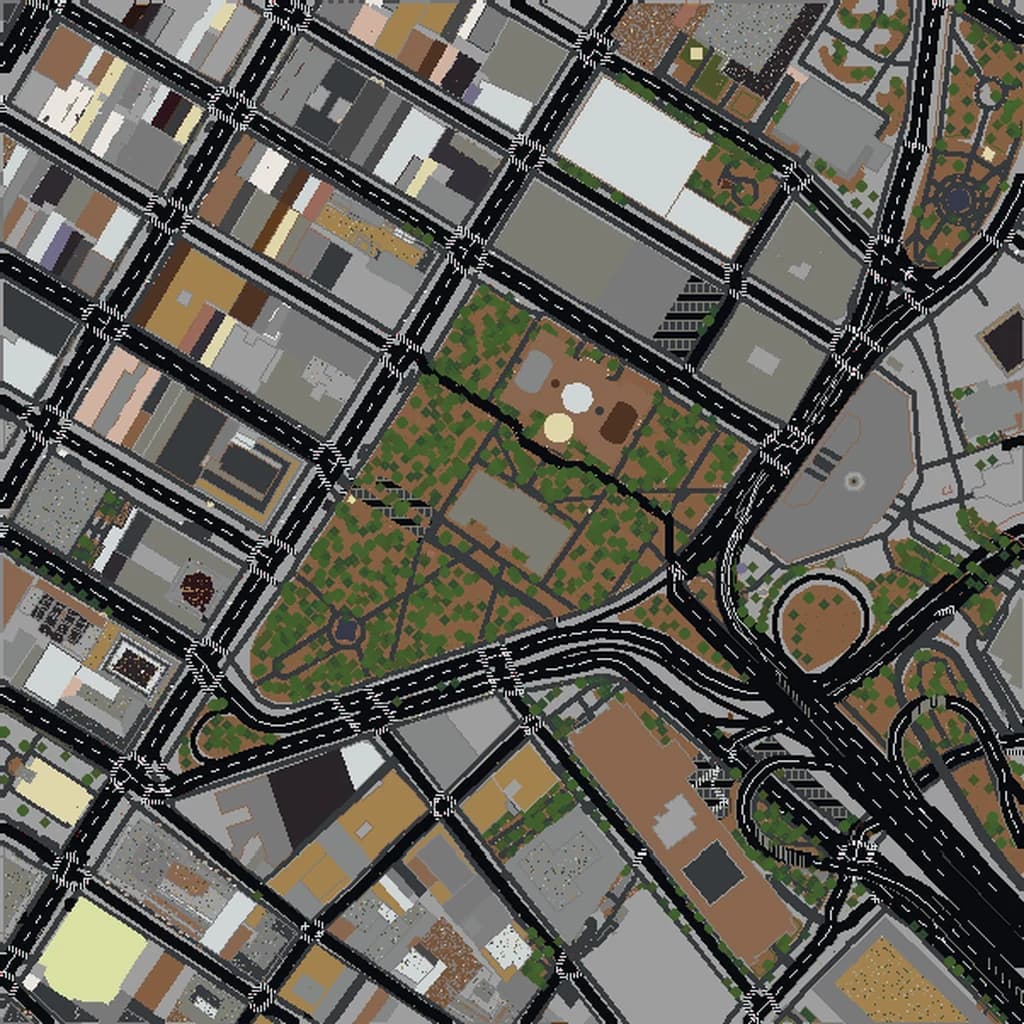
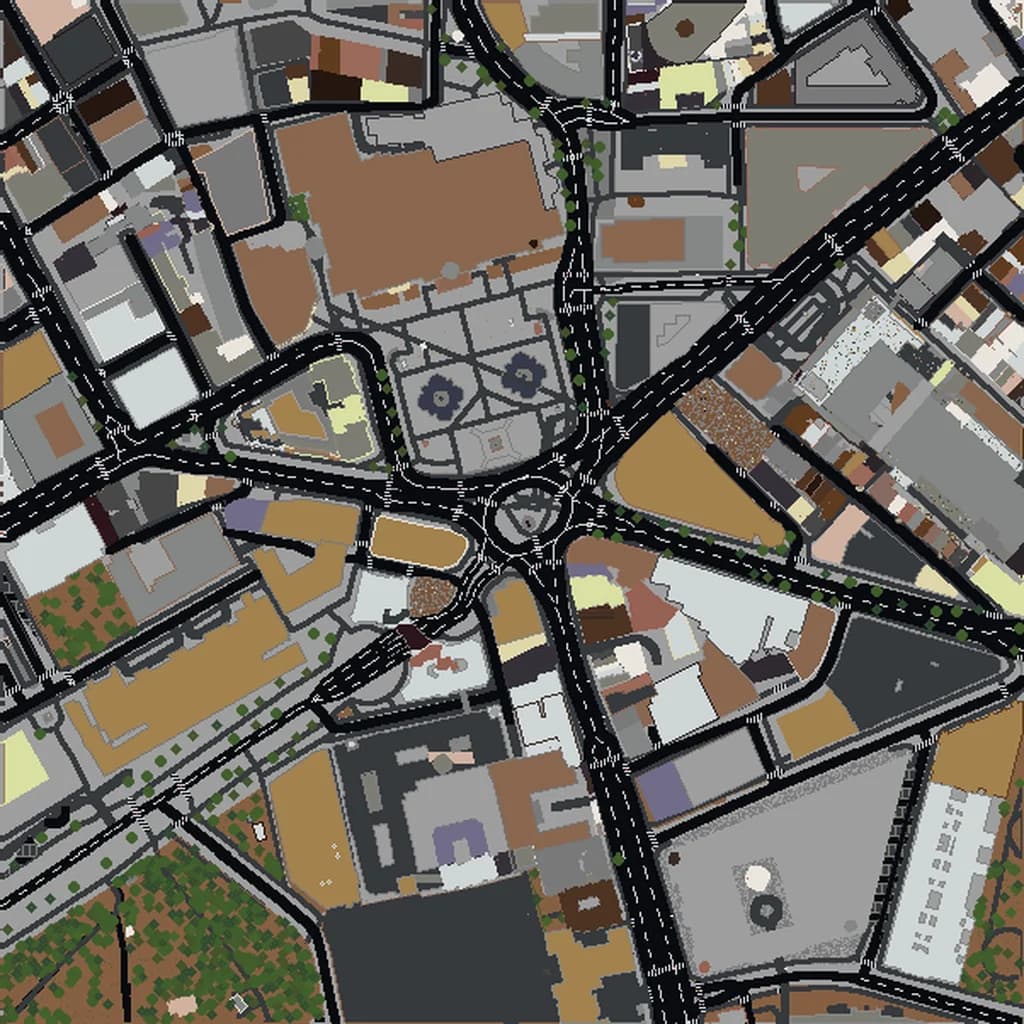
Before you download, you can walk through the world in your browser to check that the streets and buildings you care about are there. Cities like Chicago, London and Barcelona make good first group worlds because everyone recognizes something. When you are ready, pick your area, choose your edition, and download it.
Real city maps to try