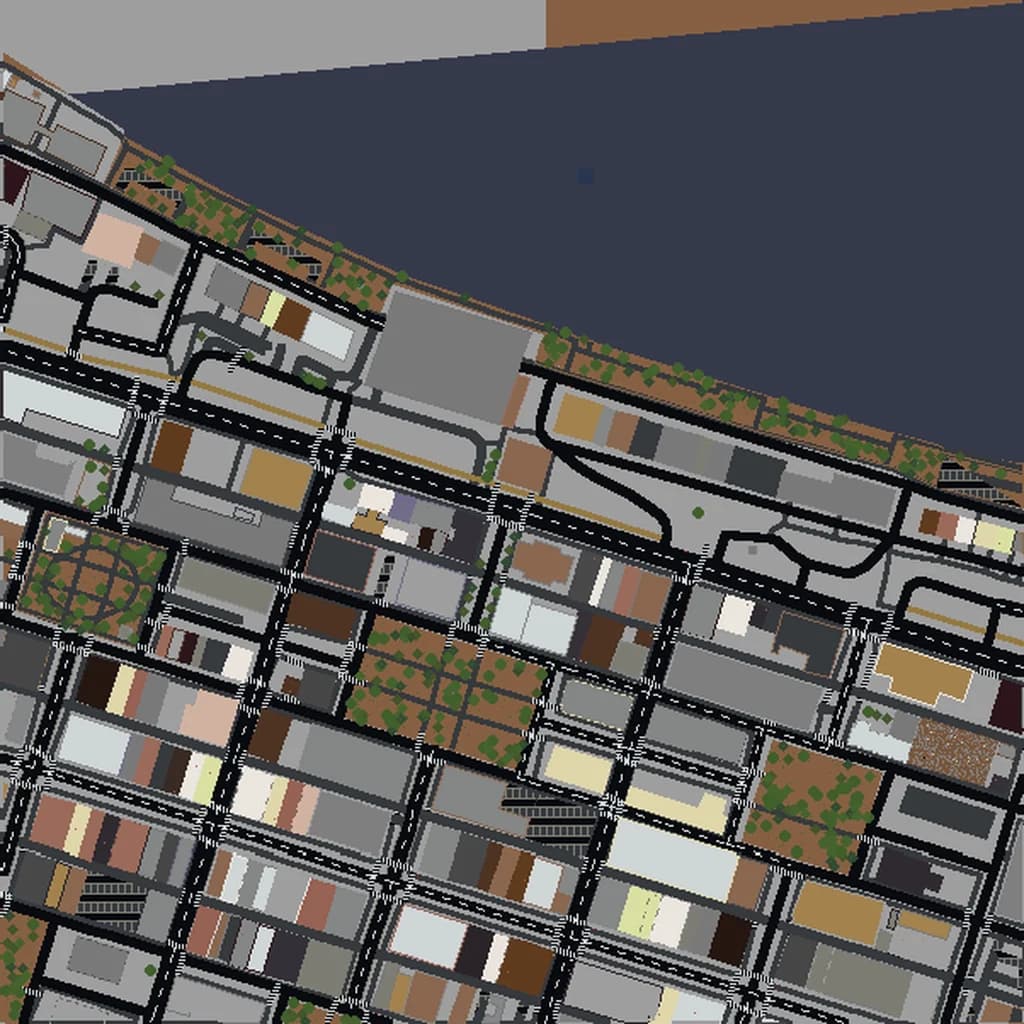
You have a custom map on your computer and a group of friends who want to play it. The easiest place to share it is a Realm, Mojang's own hosted server that stays online when you log off. Getting a custom map onto Minecraft Realms is simple once you know the trick: Realms never takes a file you browse to on disk. It only takes a world that your game can already open. So you always import first, then upload.
This guide covers both editions, the size limit, and the mistakes that cost people their builds. It works the same for any downloaded world, including a real-world map you generate from a place on the map.
Before you start: match the Realm to the world
Java Realms and Bedrock Realms are separate products. A Java Realm only runs Java worlds and a Bedrock Realm only runs Bedrock worlds, and you cannot convert a world by uploading it to the other kind. If your friends are on consoles, phones or tablets, you need a Bedrock Realm and a Bedrock world. If everyone plays on PC with the Java launcher, you need a Java Realm and a Java world.
When you build a world on Map2Minecraft you choose Java or Bedrock before it generates, so pick the edition your Realm uses. If you are not sure which edition fits your group, read Java vs Bedrock for world downloads first.
Two more things to check:
- You are the Realm owner. Only the owner can upload or replace worlds. Players you invite can join and play, but they cannot change the world.
- The world opens in single player. Load it once on your own device before uploading. If it does not open there, it will not work on the Realm either.
How to upload a custom map to a Java Realm
On Java, the upload list shows the worlds in your saves folder, so the world has to be installed there first.
- Install the world locally. Extract the downloaded
.zipand put the world folder in yoursavesfolder. Our import guide has the folder path for Windows, macOS and Linux. - Open it once in Singleplayer. This confirms the folder is right (no extra nested folder) and lets the game update the world to your version.
- Go to Minecraft Realms from the main menu, select your Realm and choose Configure.
- Pick a world slot. Choose an empty slot, or a slot you are happy to overwrite. If the slot you want to overwrite is the active world, switch the Realm to a different slot first.
- Choose Reset World, then Upload World. Select your world from the list and confirm.
- Wait for the upload to finish, select Done, and make that slot the active world if it is not already.
Your friends can then join from the Realms menu as usual. They do not need the file themselves.
How to put a custom map on a Bedrock Realm
Bedrock works the same way in principle: the world must already be in your worlds list on the device you are uploading from. The difference is which device that can be. You cannot import a .mcworld file on Xbox, PlayStation or Switch, so do the import on Windows, Android or iOS.
- Import the world on a PC, phone or tablet. Open the
.mcworldfile and Minecraft imports it automatically. It appears under Play in your worlds list. - Open it once to make sure it loads.
- Go to Play, then the Realms tab, and select the settings for your Realm.
- Pick a world slot (empty or one to replace) and choose Edit World.
- Scroll to the bottom of the Game settings and choose Upload World or Replace World (the label depends on your game version).
- Select the world you imported and confirm.
Once it is on the Realm, anyone you invite can join from any Bedrock device, including consoles. That is the main reason Realms is the usual route for console players. We go deeper on that in custom worlds on Xbox, PlayStation and Switch.
Limits and gotchas
The 4 GB upload limit
Mojang's help pages list a 4 GB maximum world size for Realms uploads, on both editions. Players also report uploads failing with a generic error on worlds well under that, especially on Bedrock. Real-world maps are big because every building is solid blocks, so check the size of the extracted world folder before you start.
If you are building a world specifically for a Realm, pick a size that leaves room. A downtown or a few neighbourhoods is easier to share than a whole metro area. When you pick a size and download, the smaller presets give you files that upload quickly and load fast for everyone.
Replacing overwrites the slot
Uploading into a slot that already holds a world deletes that world from the Realm. If your group has been building there, download a backup first. Java Realms keeps backups you can download from the Configure screen, and Bedrock lets you download the Realm world to your device from its settings. Do this before every replace, not after.
Version mismatches
Realms runs a recent release of Minecraft, and your game generally needs to match it. If your game is out of date, you may not be able to connect at all, so update before you upload. Worlds made for an older version are upgraded when they load, which is normal and safe, but keep your original download in case you want a clean copy later.
No mods on Realms
Realms runs vanilla Minecraft. Java mods and plugins such as WorldEdit will not run there, and Bedrock add-ons only work if they are applied to the world and allowed by the Realm. If your plans need tools like WorldEdit for big edits, do the editing in single player first, then upload the finished world. Or use a self-hosted or rented server instead of a Realm.
The upload looks finished but nothing changed
Mojang's bug tracker has reports of uploads that reach 100 percent and leave the old world in place. If that happens, check you are looking at the right slot, make sure that slot is active, and try again from a wired connection. Restarting the game between attempts helps more often than it should.
Tips for playing a real city on a Realm
- Agree on a meeting point. Real cities are large. Pick a landmark, find its coordinates with the debug screen (F3 on Java) or the coordinates setting on Bedrock, and share them.
- Set the spawn point. As the owner, use
/setworldspawnwhile standing somewhere recognisable so new players arrive in the middle of things, not at the edge of the map. - Decide on rules early. Is the city a museum or a playground? If you want a survival game, our survival challenge ideas for a real city has setups that work well with a group.
- Use the spare slots. Keep an untouched copy of the city in one slot and a play copy in another, so you can reset without uploading again.
Which places work well on a Realm
Compact, recognisable places are easiest to share. Old town centres like Edinburgh and Savannah fit in a small file and everyone knows where they are. Canal cities like Amsterdam are fun to explore as a group, and a slice of downtown Chicago or central London gives you a dense skyline without a huge upload.
Ready to set one up? Choose a place, pick an edition and download your world, import it on your device, and upload it with the steps above.
Real city maps to try