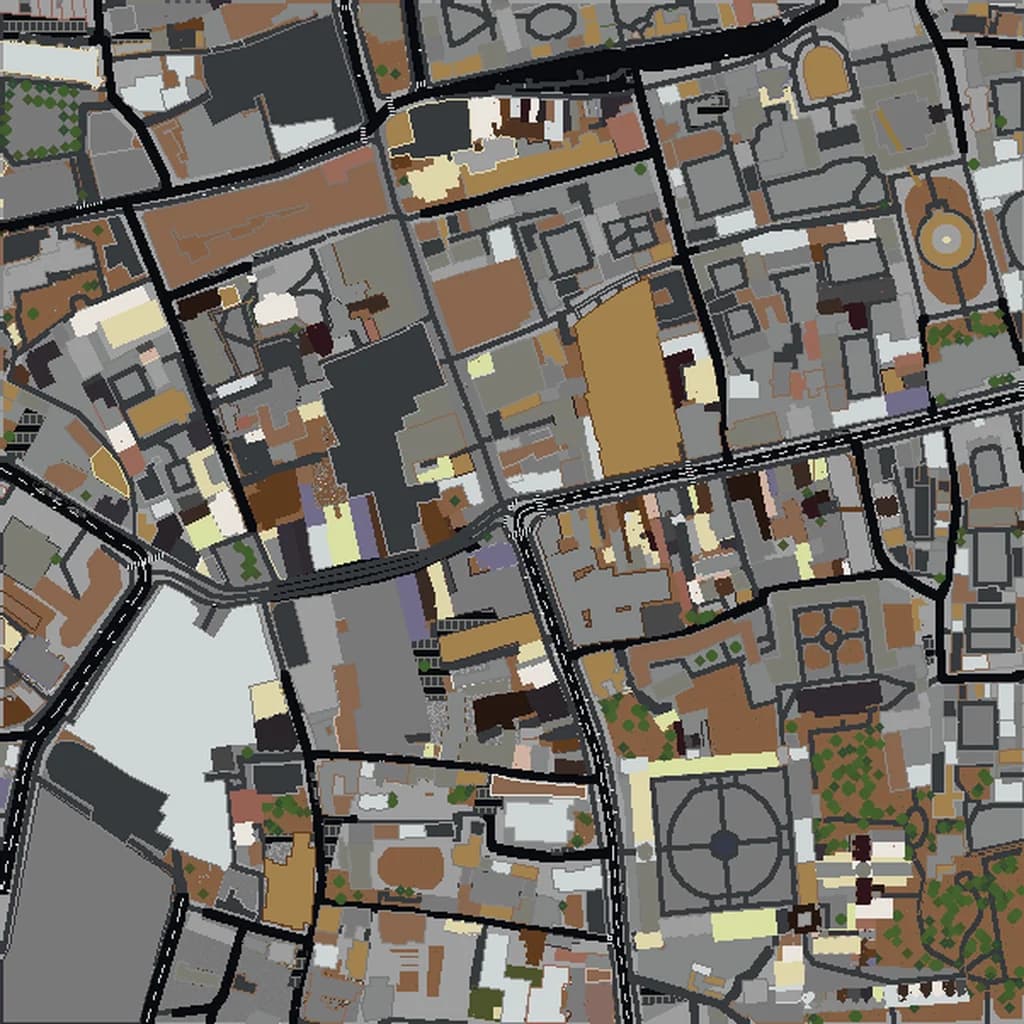
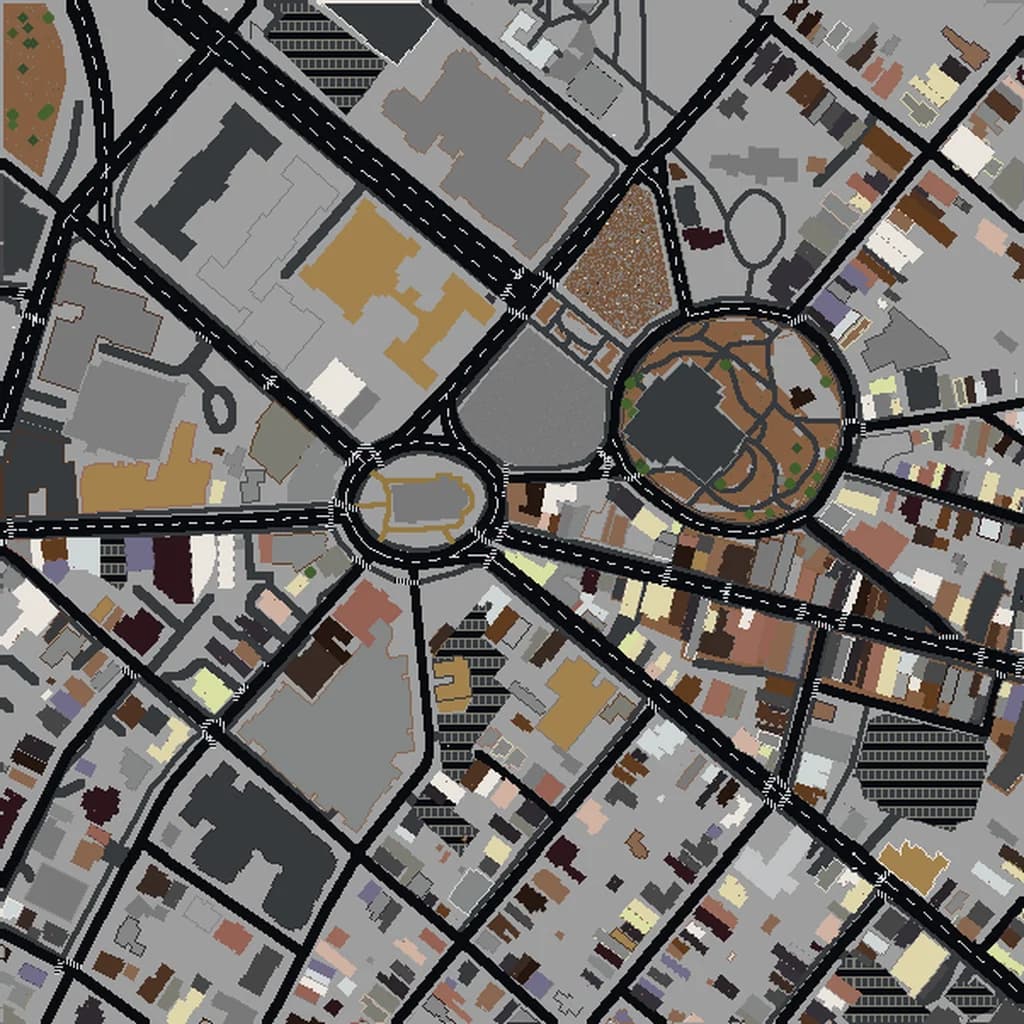
How to Add Your Town to OpenStreetMap
You generated a Minecraft world of your hometown and half the houses are missing, or your school is a single-storey box when it really has three floors. The reason is almost always the map, not the generator. Minecraft worlds built from map data can only be as good as that data — and the good news is that you can fix it. This guide shows how to add your town to OpenStreetMap: making an account, drawing buildings, adding floor counts and heights, and doing it in a way the OSM community welcomes.
Why the Map Matters for Your World
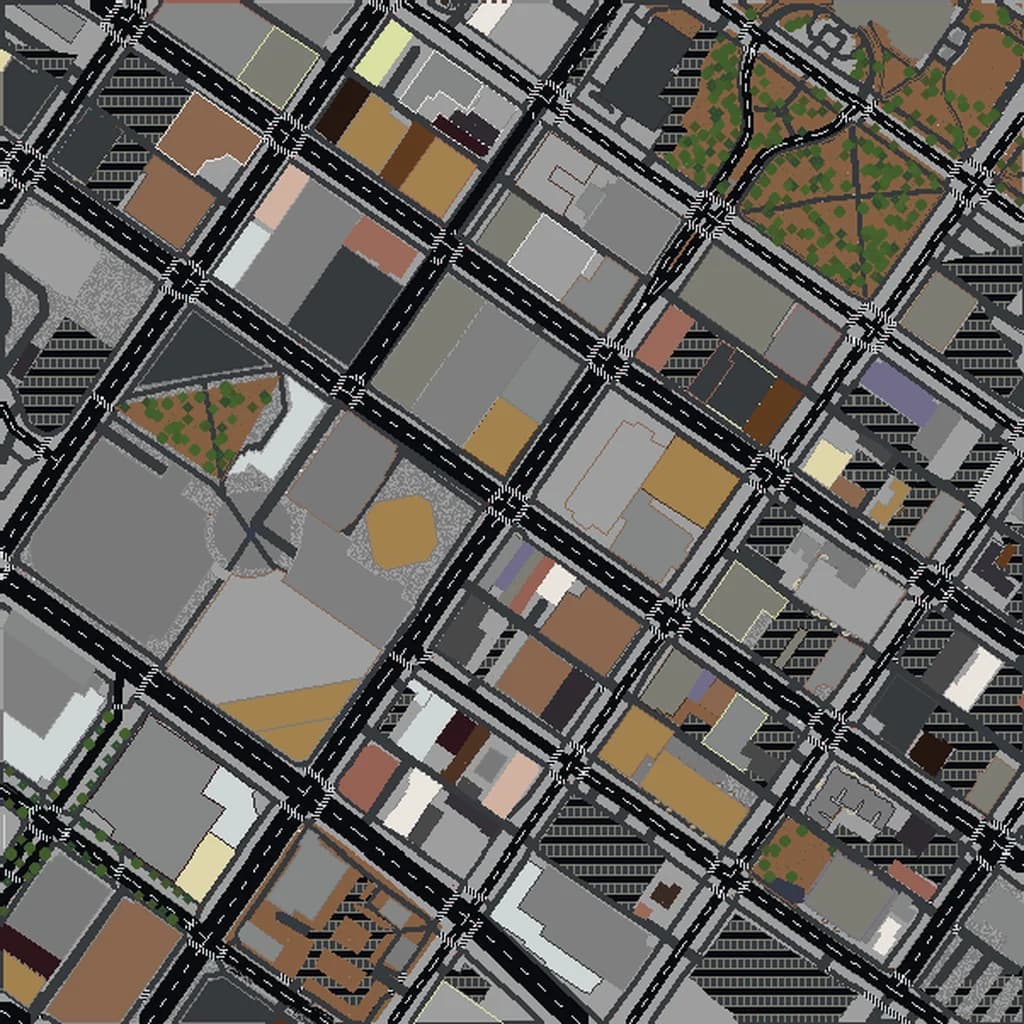
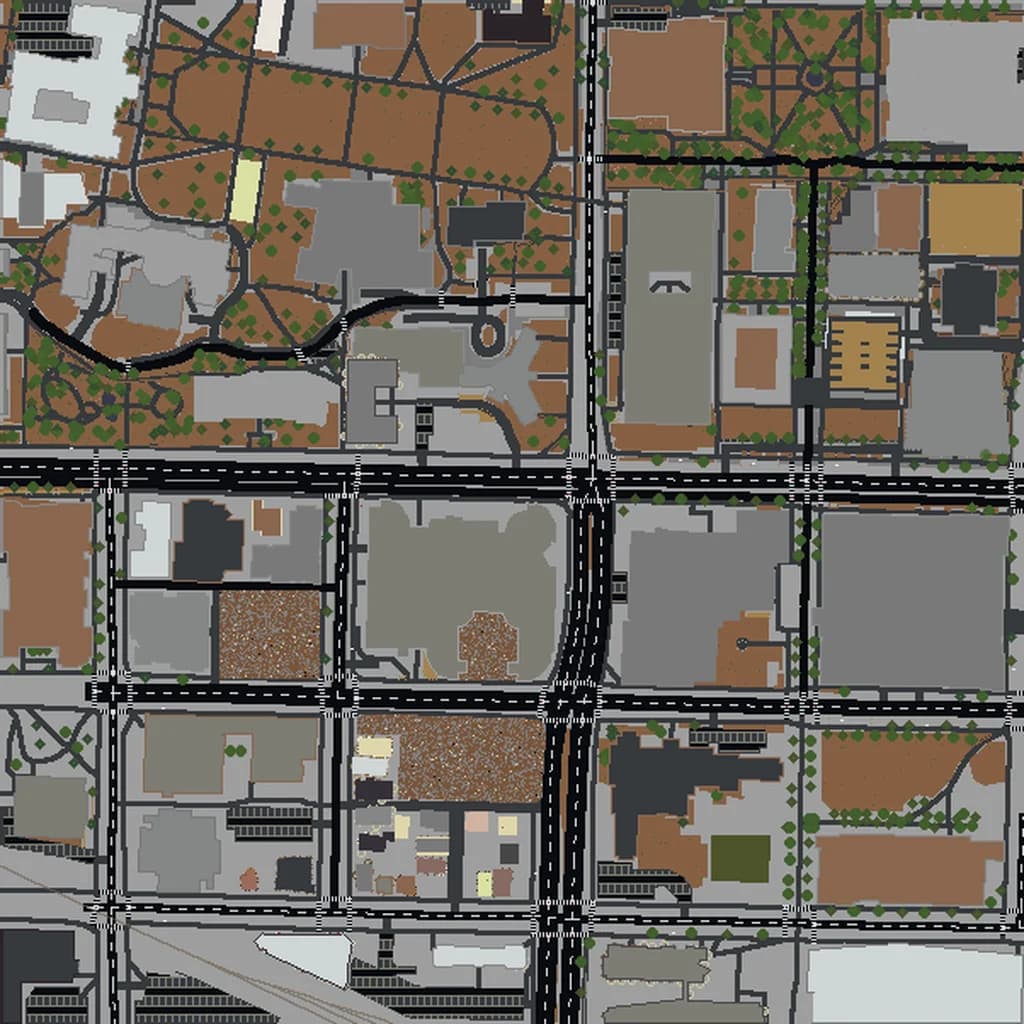
Map2Minecraft builds worlds from OpenStreetMap (OSM), the volunteer-made map of the world. Every building in your world exists because someone drew it in OSM. Every building that is the right height is usually right because someone added a building:levels or height tag. When those tags are missing, the generator guesses from the building type and size. Our post on what OSM data turns into which blocks explains the details.
So adding your town's buildings and floor counts has two benefits: better Minecraft worlds for you and anyone else who builds there, and a better free map for everyone who uses OSM data, from navigation apps to emergency planners.
The Rules First: Map What You Know
OSM has a few firm rules. Breaking them gets edits reverted and accounts blocked, so read these before you start.
- Never copy from Google Maps, Google Street View or other copyrighted maps. That includes looking up a building's height on Google and typing it in. OSM's data is open, and copying from proprietary sources puts that openness at risk.
- Use only permitted sources: your own knowledge and observation (walking past and counting floors is perfect), photos you took yourself, and the aerial imagery layers built into the OSM editors, which are licensed for tracing.
- Map what is really there. Do not add your Minecraft builds, imaginary buildings or "planned" things as if they exist. OSM records the real world.
- Do not delete things you are unsure about. If something looks wrong but you cannot check it, leave a note instead (more on that below).
- Large automated edits need community discussion first. As a beginner, stick to editing by hand.
Step 1: Create an Account
Go to openstreetmap.org and sign up. It is free. Your username is public and appears on every edit you make, so pick something you are happy to have attached to your work.
Step 2: Open the iD Editor
Search for your town on openstreetmap.org, zoom in, and click Edit. That opens iD, the beginner-friendly editor that runs in your browser. The first time, iD offers a short walkthrough. Take it — it takes about ten minutes and teaches everything below.
The background shows aerial imagery you are allowed to trace. If the buildings look offset from the imagery, use the Background panel to try another layer; different layers can be clearer or more recent for your area.
Step 3: Draw Missing Buildings
- Click Area in the top toolbar.
- Click each corner of the building roof in the imagery, and click the first point again to close the shape.
- Choose a feature type. Be specific when you can: House, Apartment Building, School Building, Church, Garage. If you do not know, Building is fine.
- Press Q to square the corners of a rectangular building. Most buildings have right angles, and this makes them neat.
Being specific helps your world directly: when a building has no floor count, the generator uses its type to choose a sensible height, so a building marked as a house will come out house-sized and an apartment building will come out taller.
Trace the roof outline, not shadows or the base of the walls. Do not overlap neighboring buildings — terraced houses should share walls, not cross into each other.
Step 4: Add Floors and Heights
This is the single most useful thing you can add for Minecraft worlds. Select a building and look at the tag editor on the left. Switch to the text view if you prefer typing tags.
building:levels=3— the number of floors above ground, not counting floors inside the roof. Count the rows of windows from the street. This is the easiest tag to add accurately.roof:levels=1— floors inside a pitched roof, such as an attic with dormer windows.height=14— total height in metres, ground to top. Only add this if you actually know it, for example from a sign, a published figure you are allowed to use, or a careful measurement. Do not guess, and do not copy it from Google.roof:shape=gabled— the roof's shape:flat,gabled,hipped,pyramidal,domeand others. You can see most roof shapes from the street or imagery.building:material=brickandbuilding:colour=white— what the walls are made of and what colour they are.
Floor counts are perfect for a walk around the neighborhood: take a list of streets, count floors, and add them when you get home. Phone apps make this even easier. On Android, StreetComplete asks simple questions about things near you, including how many floors a building has, and saves the answers to OSM for you.
Step 5: Add the Rest of the Neighborhood
Once the buildings are in, the next most visible things in a Minecraft world are:
- Trees. Single trees (Tree preset, a point) and rows of street trees (Tree Row, a line) each become trees in the world.
- Parks, playgrounds and sports pitches. Draw them as areas with the right preset.
- Footpaths. Paths through parks and between streets make the ground look far more lived-in.
- Water. Ponds and streams that are missing or drawn roughly.
- Surfaces. A
surfacetag on a path or plaza (paving_stones,gravel,grass) changes what blocks it becomes.
Step 6: Save With a Clear Comment
Click Save. iD asks for a changeset comment — a short note on what you did, such as "Added buildings and floor counts on Maple Street from survey". List your sources honestly (survey, aerial imagery). Then upload. Your edit is live on openstreetmap.org within minutes.
When You Are Not Sure: Leave a Note
If something on the map looks wrong but you cannot check it yourself, use a map note on openstreetmap.org instead of editing. Local mappers see notes and will check. You can also join your local OSM community through the forum to ask questions; mappers are generally happy to help newcomers who follow the rules.
Seeing Your Edits in Minecraft
Your changes show on openstreetmap.org quickly, but services that use OSM data often work from periodic snapshots, so they can take a while to reach a generated world. Give it a few weeks, then generate your area again.
When you do, the difference can be striking: rows of houses where there was empty grass, and buildings at their real heights. Draw a box around the streets you mapped, generate the world, and walk through it in the in-browser 3D preview to see your work.
A Good Project for a Group
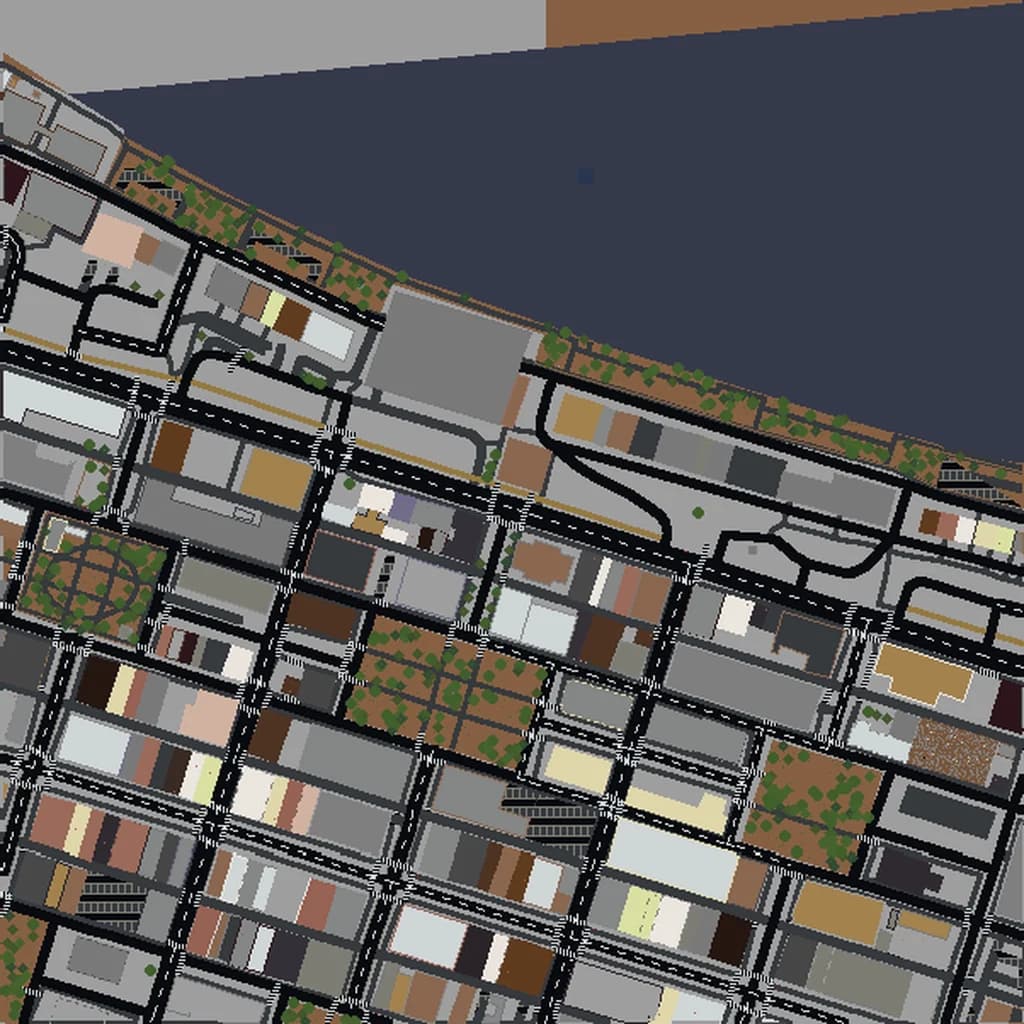
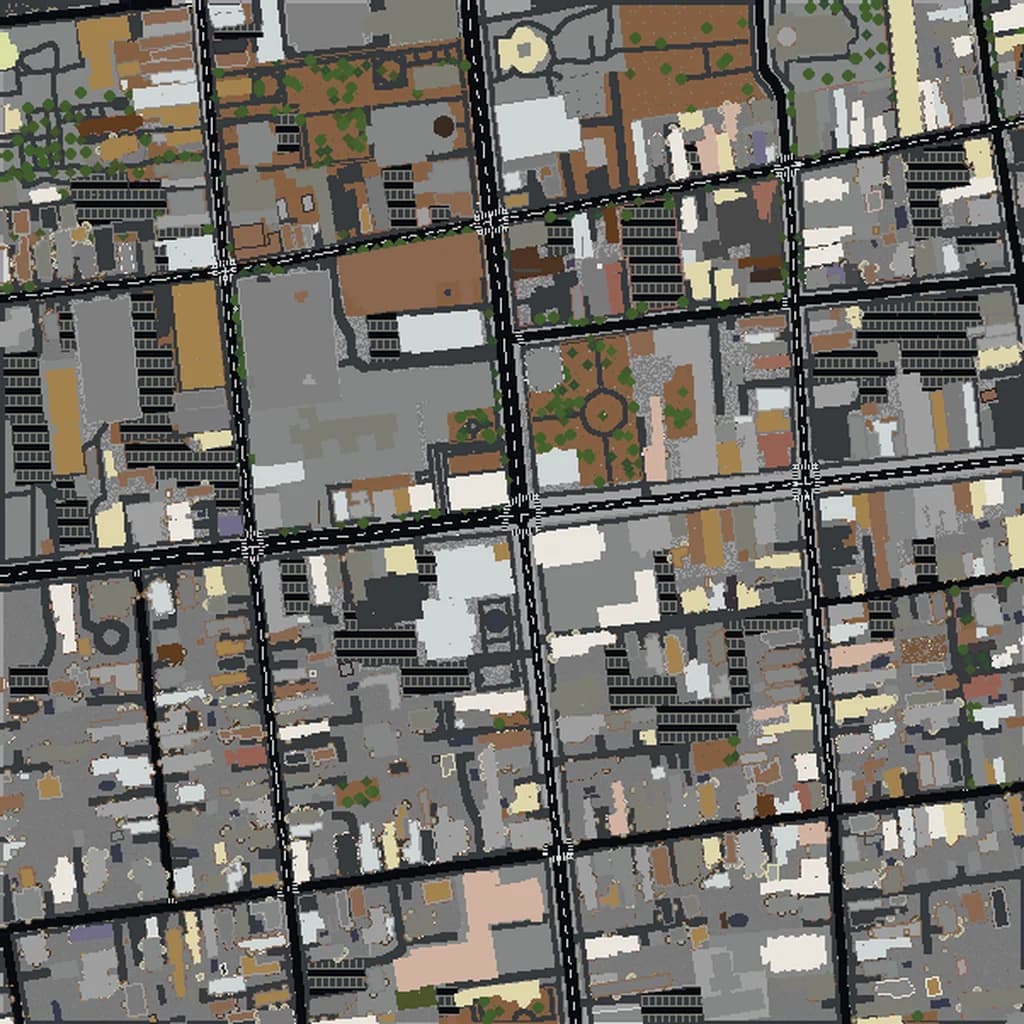
Mapping a town is a great shared project for a club, a class or a family. Split up streets, count floors on a walk, and map them together afterwards. Our guide to teaching geography with real-world Minecraft maps has more ideas for using your own community as a lesson. Then build the world and explore what you made — smaller cities like Boise or Savannah show how much a well-mapped town adds.
Real city maps to try