How to Make a Minecraft World of Your House
Almost everyone who plays with real-world maps wants to do the same thing first: find their own house. Walking down your actual street, past your neighbours' houses, and stopping at your own front door in Minecraft is oddly satisfying. This guide shows how to make a Minecraft world of your house and neighbourhood, what level of detail to expect, and how to finish the job by building your real interior.
Step 1: Find Your Street
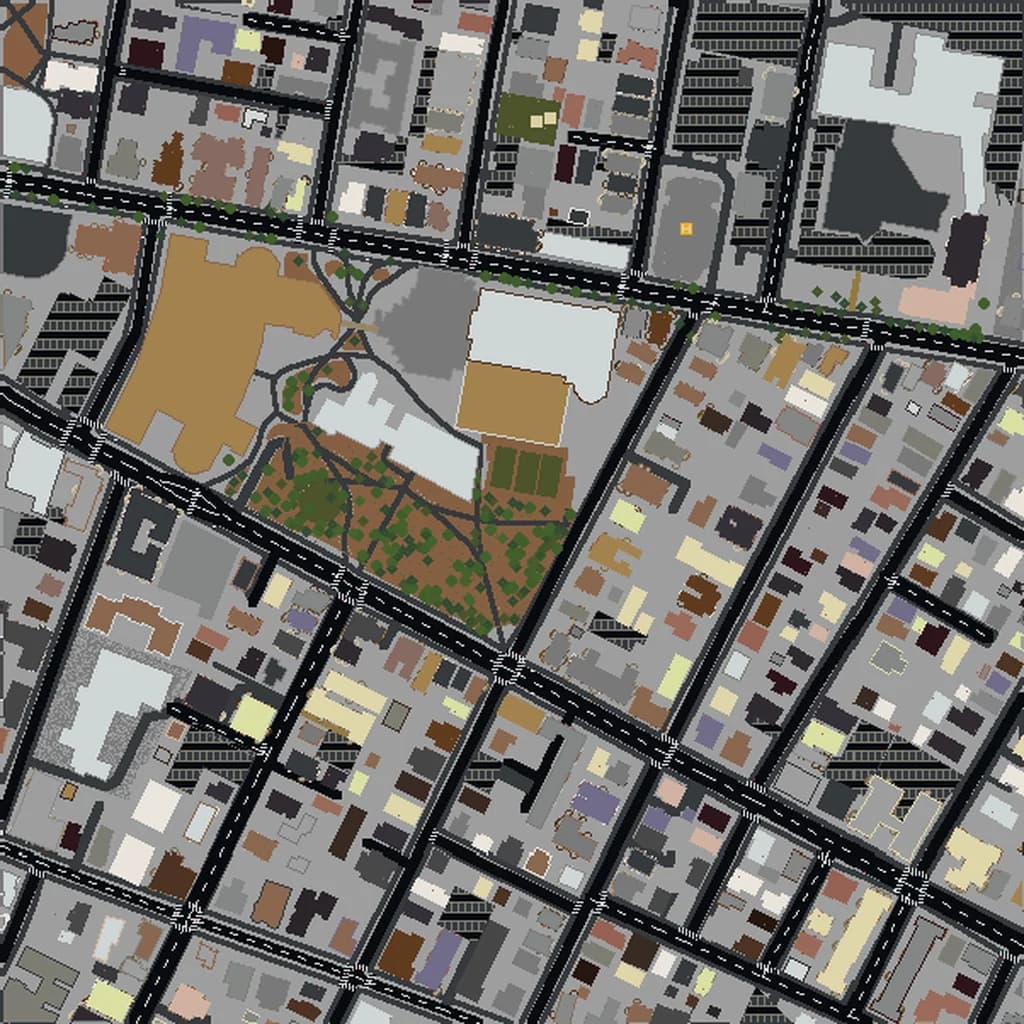
Open the map tool and type your address, or your street and town, into the search box. The map jumps to it. Zoom in until you can see your own street and the buildings around it.
If search lands slightly off, drag the map by hand. Landmarks you know, like a school, a park or the shape of a junction, are the quickest way to confirm you are in the right place.
Step 2: Choose a Small Box
For a house world, smaller is better. The smallest size covers a square a few hundred metres across, which at one block per metre is enough for your house, your street and a few neighbouring blocks. That is plenty to recognise, and it generates quickly.
Centre the box on your house rather than on the middle of your town. If there is something you want included, like a park at the end of the road or the corner shop, drag the box to cover it. Pick a larger size only if you really want the whole neighbourhood; bigger worlds take longer to build and to load.
Consider the scale setting
By default, one block equals one metre, which keeps distances true: your street takes about as long to walk in Minecraft as it does in real life. The catch is that real houses are small in blocks. A typical room might be only four or five blocks wide, which feels cramped to a Minecraft player used to building big. The scale setting lets you build the world larger than life, giving more blocks per metre so rooms and gardens have space for detail. A higher scale also makes the whole world bigger, so it suits a small box.
Step 3: Check the Preview
After generation you can look at the world in 3D in your browser and walk around it before you download. Use this to answer one question: is my house there?
What Detail to Expect
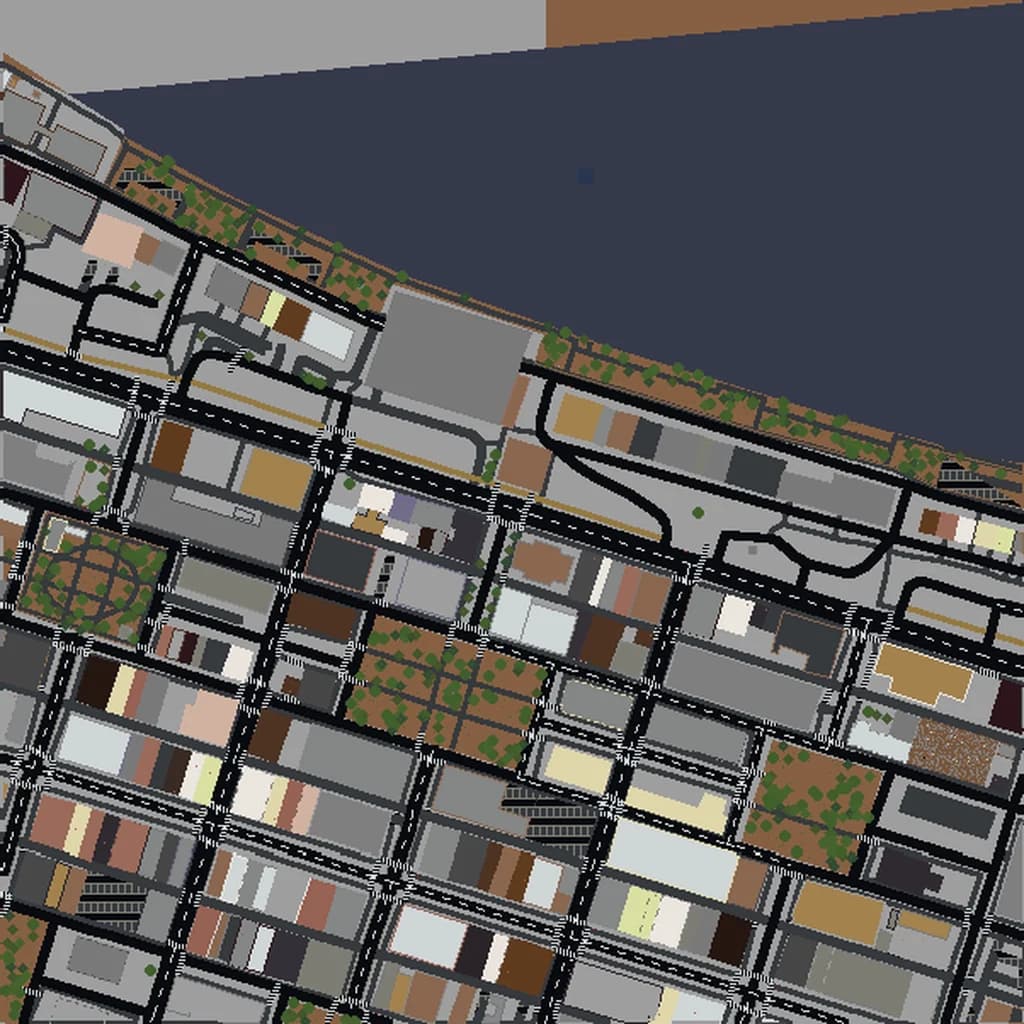
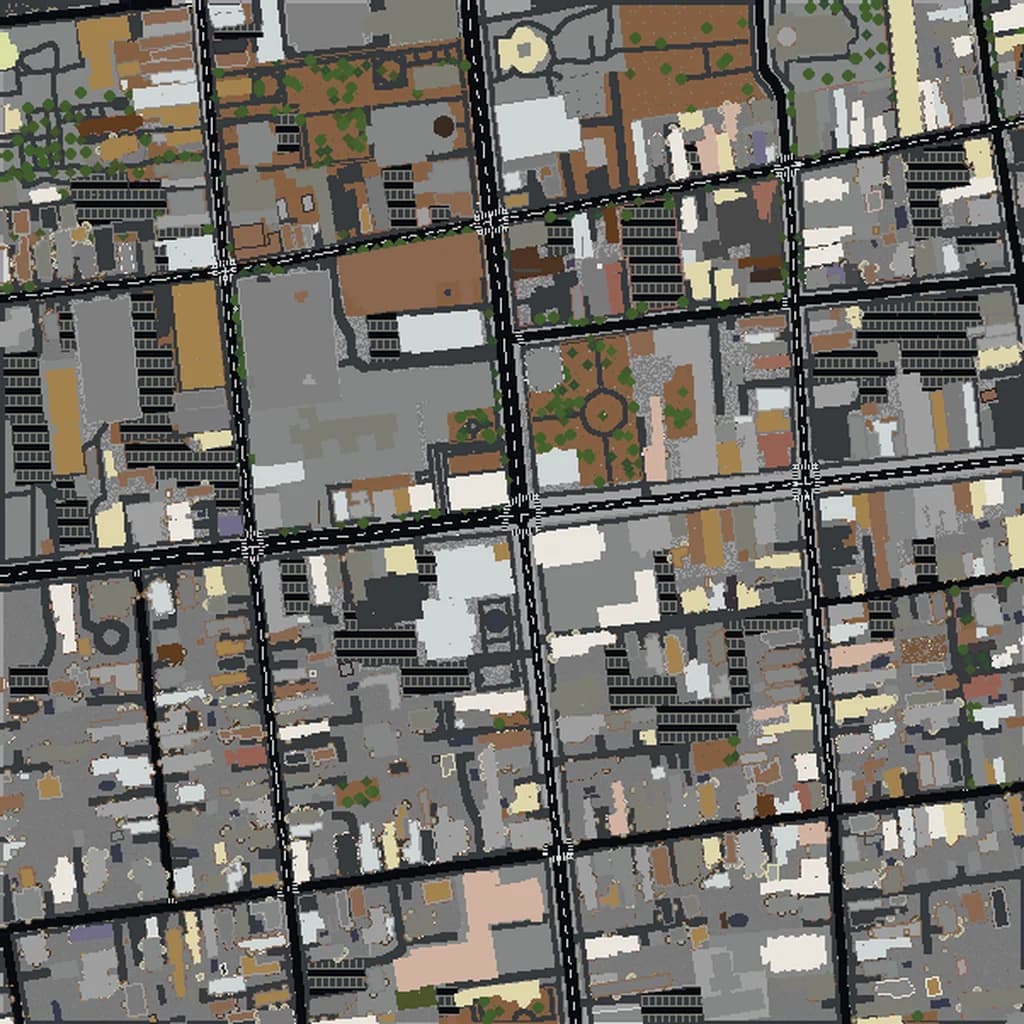
Every building in the world comes from OpenStreetMap, a free map drawn by volunteers. What you see depends on what they have mapped around you.
- Footprints: in many towns, every house is traced, so yours will appear with its real outline. Garages and sheds are often mapped too.
- Height: unless someone has recorded the number of floors, height is estimated from the type of building. A house usually comes out at a believable one or two storeys, but it may not match yours exactly.
- Roofs: roofs are generated in standard shapes. They give the right feel but are not a copy of your roof.
- Interiors: with building interiors on, buildings get floors and rooms, but these are generated, not your real layout. OpenStreetMap does not hold floor plans of private homes.
- Gardens, trees and fences: these appear only where mapped. Many residential areas have roads and houses but few garden details.
If your house is missing
In some areas, especially newer developments and rural roads, buildings have not been traced yet. You have two options. You can build it yourself in the world, using the street as your guide. Or you can add it to OpenStreetMap: anyone can create an account and trace buildings, as long as the information is accurate and drawn from your own knowledge or permitted sources. Once your edit is part of OpenStreetMap, a new world generated later will include it. Please map what is actually there; OpenStreetMap is used by many other apps and people.
Step 4: Download and Open It
Pick Java or Bedrock for the device you play on, download, and import it. Our import guide covers every platform. Switch to creative mode for the next part.
Step 5: Build Your Real Interior
This is where a house world becomes yours. The generated outline is the frame; you fill it in.
- Measure first. At one block per metre, a room that is 4 by 5 metres is 4 by 5 blocks. Pace out your rooms or use a floor plan if you have one. Write down the size of each room and where the doors and windows are.
- Clear the inside. If the generated interior gets in the way, remove it. On Java with WorldEdit installed, select the inside of the house with the wand (
//wand, then left- and right-click two opposite corners) and run//set air. Without mods, the/fillcommand does the same thing:/fill x1 y1 z1 x2 y2 z2 airwith the corner coordinates from the debug screen. Check that your selection does not include the outer walls. - Lay out the floor plan. Draw the internal walls on the floor with a contrasting block before building them up. It is much easier to fix a misplaced wall at one block high.
- Fix the outside. Change the wall and roof blocks to match your real house: brick, siding, render or stone. Add your real windows and front door in the right places.
- Furnish it. Minecraft furniture is all about suggestion: stairs for chairs, trapdoors for cabinets, a carpet on a fence post for a table. Two or three details per room are enough to make it recognisable.
- Do the garden. Add the trees, flower beds, fence and driveway that the map did not include.
If you raised the scale, remember to multiply your measurements by the same factor.
Ideas Once It Is Built
- Give the world to family members as a keepsake of a home you are moving out of.
- Host it on a server so friends can visit; see our guide to uploading a world to a server.
- Build your neighbours' houses next, or your school, and turn the street into a shared project.
Start With Your Address
Search your address, draw a small box around your house, and preview it in 3D. Most people know within a few seconds whether they have found home.
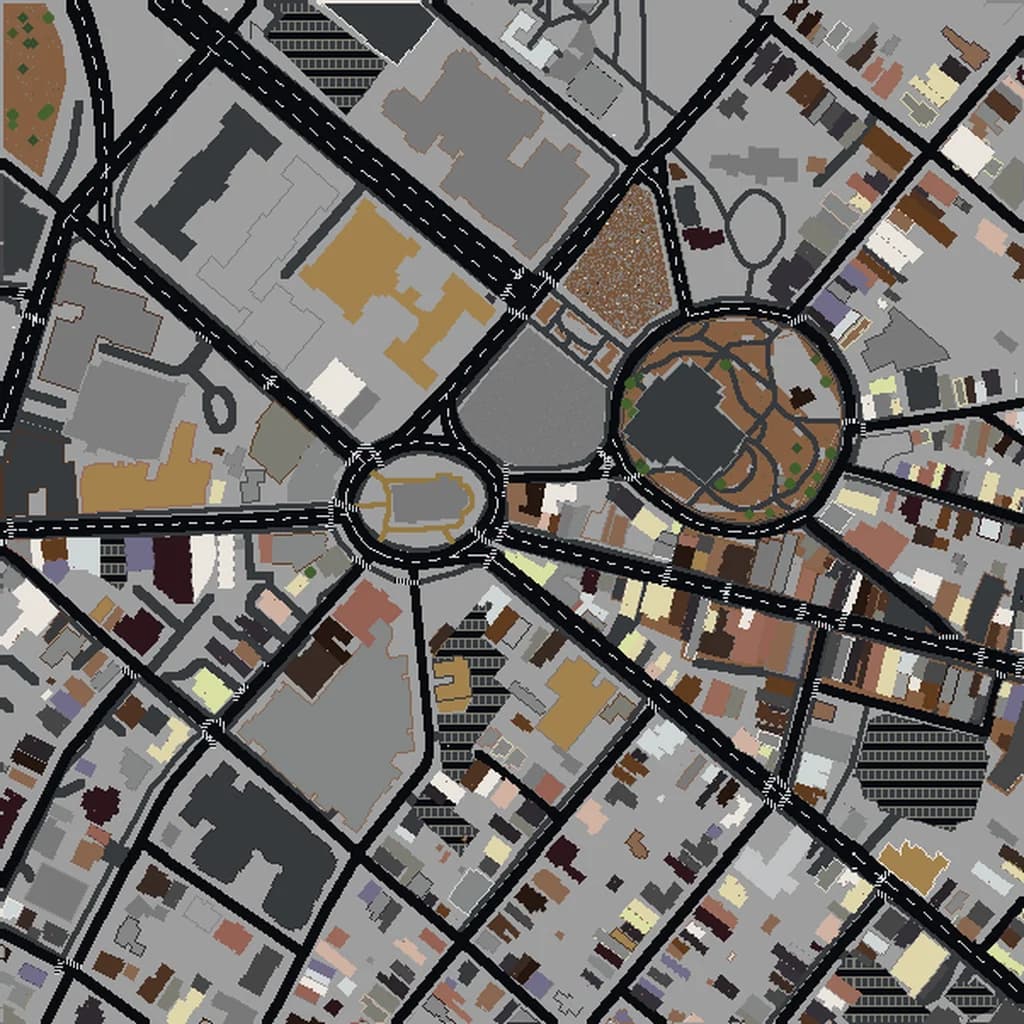
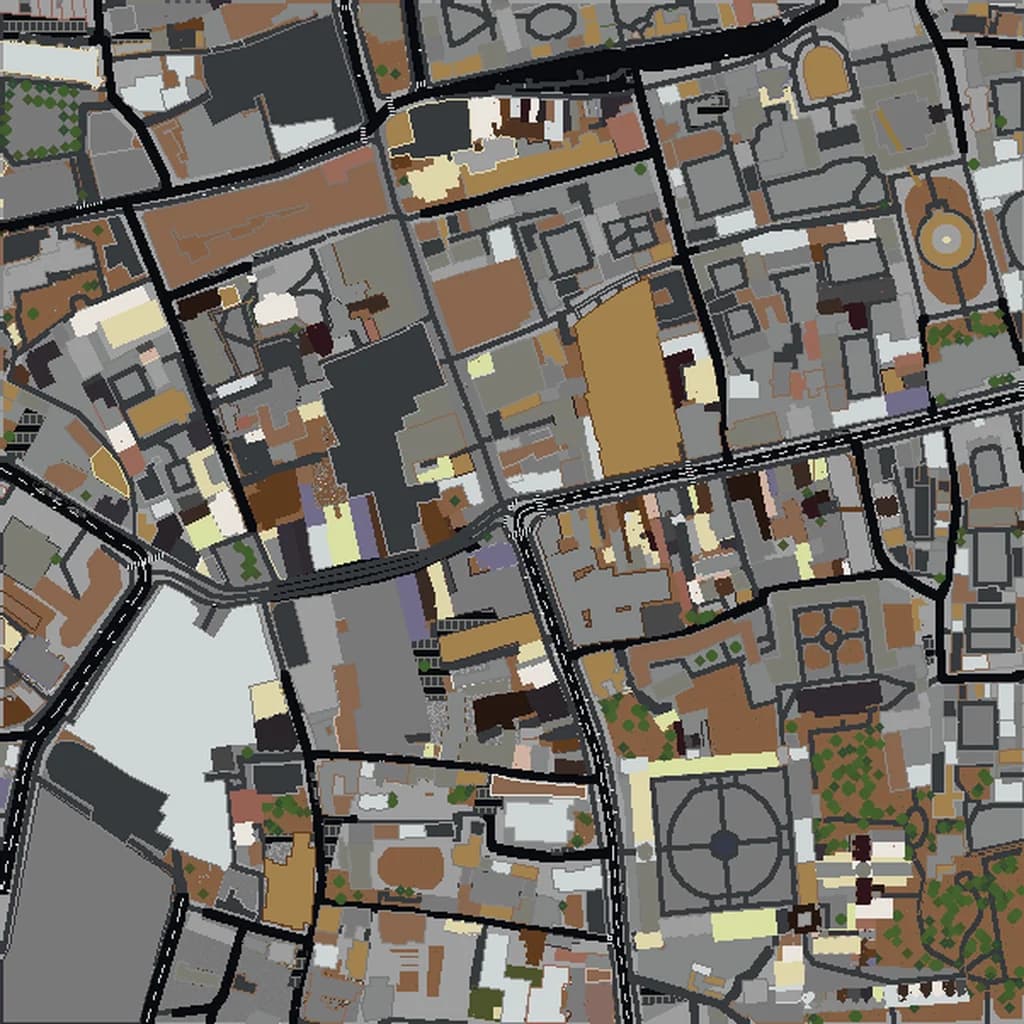
Real city maps to try